Showing posts with label new lines. Show all posts

Friday, May 1, 2015

Moxxie {Blog Hop}

Good morning! Is it really May already!? These months are just flying by! But if it’s a new month it means it’s time for another MOXXIE blog hop! I don’t know about you but I always look forward to seeing everyone’s amazing projects! The Muses always seem to pull out all the stops to create some amazing things!  Make sure you read to the bottom to find out how to WIN one of these fantastic NEW lines!!

For today’s blog hop, out of the three BRAND NEW awesome lines, I was given the new softball line- Fastpitch to work with.

 This one was a bit of a challenge for me because the extent of sports in our household are Soccer, Dance & Tumbling! So I wasn't sure what I was going to do at first but in the end I decided I wanted to show you different ways to use this gorgeous line!
What do you think? 
I love the colors and the designs on these papers! For the notebook I used a mini composition notebook and covered front and back leaving the original tape for the binding uncovered. I then inked up the edges with Prima Chalk Ink - Knotted Wood. Then using some of the awesome cardstock stickers that go with this line I, created a little banner and tied some linen thread onto the ends. To make them stand out a bit more, I traced around them with a fine dark brown pen. 
The flowers, I punched out with a couple of Stampin’ Up! Punches; I layered them and added a button. Then I used Moxxie’s Brown Alpha’s to spell Notes.
Such a cute little notebook to carry in your purse!

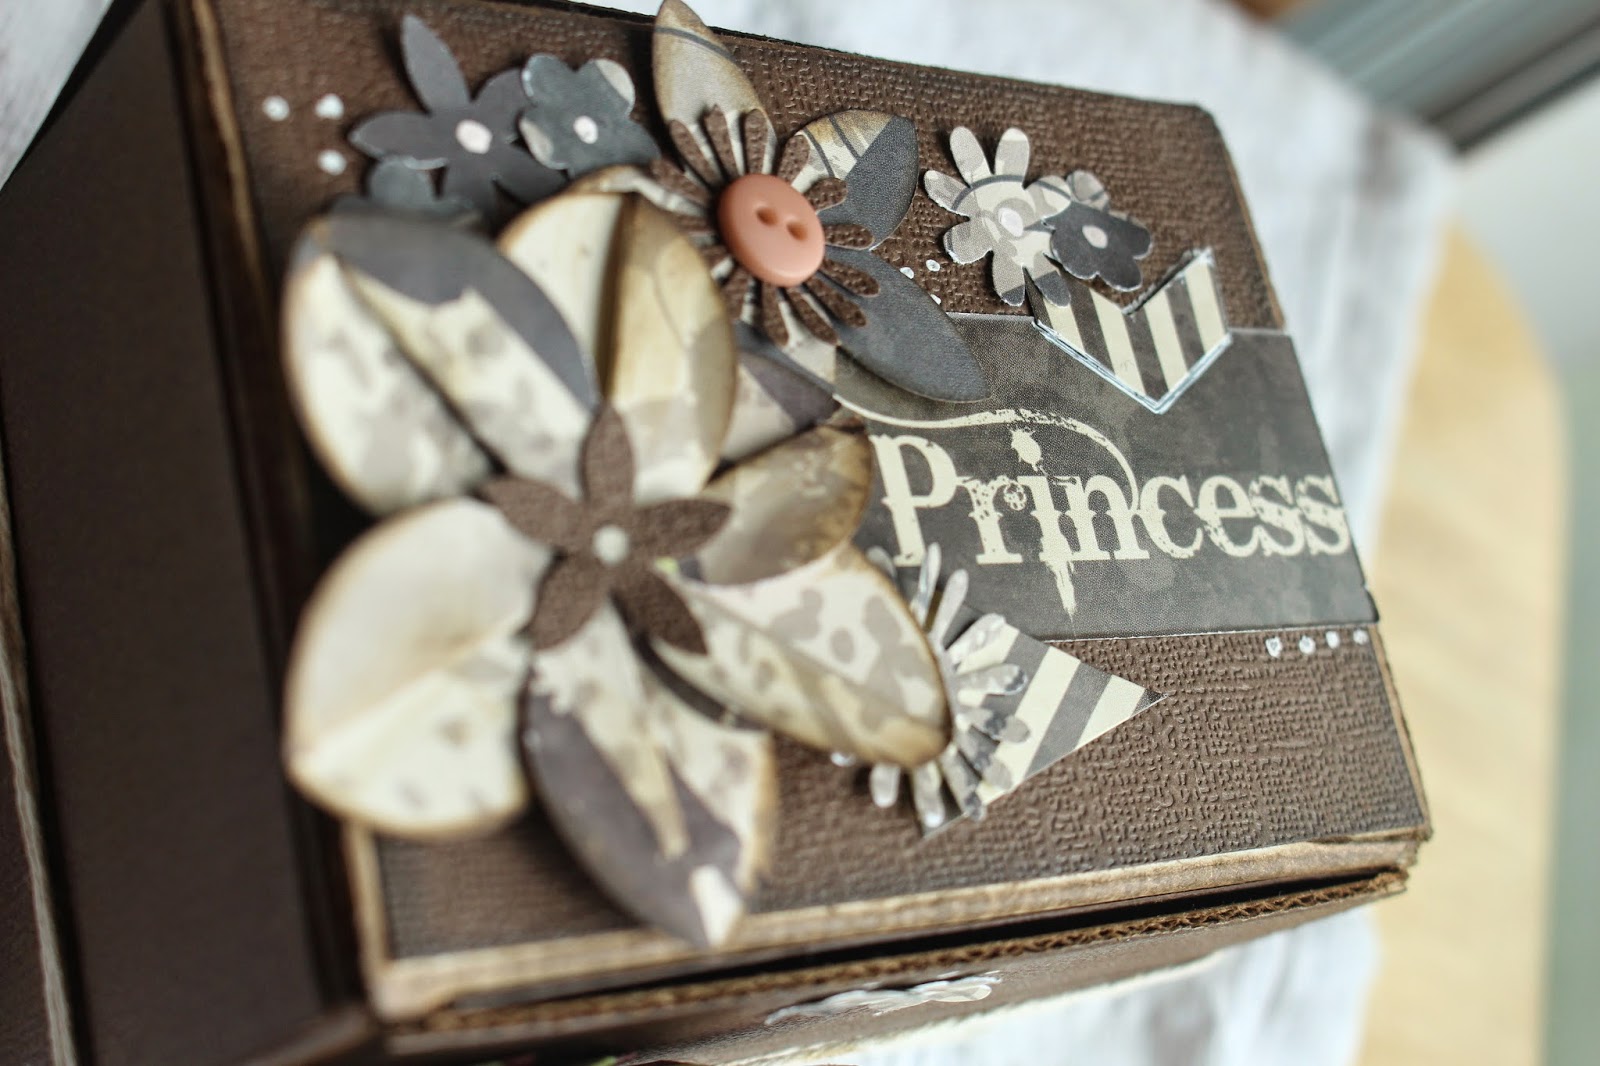
Now for my favorite! The cute little box! This turned out adorable!
I started out by taking some dark brown cardstock and cutting it down to fit the faces of the box. I then inked the edges with Prima Chalk Ink - Knotted Wood. Now for the really fun part! I followed this TUTORIAL for this quick and easy, but super cute flower! Then for additional ones I had some Stampin' Up! punches. I wrapped the twine around the box several times (this box opens from the top) and then spread it out to to draw more attention to the flower. 
I added some buttons to the middle of a few flowers and used a white pen to draw a few dots here and there. I also added in some cardstock stickers on the top. Now for the "Princess" sticker I cut apart a bigger sticker it was a part of. Don't be afraid to do something like that! :) Here's a couple shots of the top.
And what do we always need to do when we create such an adorable box!? Well, I always feel the need to fill it with chocolates! ;)

Join us showing off these fun new lines!
You can leave a comment on each of our designers' blogs for an extra entry into our giveaway.


What's the prize you ask?
You can PICK which line you receive if you WIN!

How do I WIN you ask?
Just leave a comment on the Moxxie blog hop post. 

You get extra chances to WIN by commenting on our designers' blogs and sharing with your friends. Just let us know how you shared in a comment on the Moxxie blog.

Good luck! Thanks for stopping by! :)


Moxxie Products I used:

FP- 1539 Play with the Heart
FP-1540 Batter Up
FP- 2298 Fastpitch Cardstock Sticker

AL- 2281 Brown Alphas

Wednesday, February 4, 2015

Moxxie {#One Star Player layout}

She shoots! She scores! And the crowd goes wild for Moxxie's new Basketball line! Whooooo!
I found these adorable pictures of my oldest when she was only a year old. She loved rolling that basketball around in my mother's kitchen. :) 
I cut down my basketball sheet by 1/2" on a side and 1/2" on the top and then centered it on a sheet of cardstock. Then added some brads and the cardstock stickers.
 I did some outlining with a black pen around some of the stickers to really make them stand out, like these banners. I also used some of the black alphas for the date.
Thanks for stopping by! :)


Moxxie Products Used:

BBL- 1499 Lay Up
BBL-1500 Dribble 
BBL-1501 Jump Ball
BBL-2282 Basketball Sticker
AL-2278 Black Alpha 

Monday, January 26, 2015

Moxxie {Beauty layout}

Good morning! Boy do I have a treat for you! I've been playing with Moxxie's new Springtime line it's absolutely gorgeous!! Have you seen it? Well let me show it to you!
Absolutely gorgeous! I love the colors and the whimsy-ness of it. It worked beautifully for these pictures of my youngest daughter.
I started out by punching two different borders and sponging the edges with some Tim Holtz Vintage Photo Distressing Ink. I then did some folding on the green strip to create a faux ribbon.
I also did some fussy cutting for these tiny little dandelion seeds. I cut them out of another sheet of paper then layered them on this one using some 3D-Dots. I also added some Stickels to give them a bit of "bling". :)
I also added some Stickles to the rest of the white dandelions. It's a little hard to see in this picture but it really adds to it and looks beautiful. 
I absolutely love this new line! Thanks for stopping by! :)


Moxxie Products Used:

SPR-1519 Springbirds
SPR-1520 Dandelion Wishes
SPR-1521 In Bloom
SPR-1522 Take Flight
SPR-1523 Butterfly Garden
SPR-1524 Springtime Cutouts
SPR-2287 Springtime Sticker
AL-2293 Green Alpha

Friday, January 9, 2015

Moxxie {New Line Blog Hop}

Hello!
Thanks so much for joining us for Moxxie's 2015 Winter Release Hop!
We are SO excited to share all of these fabulous NEW lines with you!!

While the boss is away at CHA we thought we'd show you some of the fantastic projects our amazing Muses have already created using these wonderful lines.
You will be able to hop to each muse's blog to see all the details about their project and the entire line that they used for their project. So make sure to stick around to the end to see how you can enter to win!!

The new line I chose to work with is Winery. I love the deep rich colors and the fun alpha's that coordinate with it!
I'd like to share with you the layout I did using this gorgeous line. Right after Christmas my little family and I took off to Garden City, UT (which incidentally is only about 20 minutes away from Beaver Mountain Ski resort!) for a week long break. The girls and my husband took off skiing and I got the whole place to myself. It was utterly relaxing! As I'm sure you can tell from my picture! lol I love those quiet, relaxing moments!
 
I cut down my Fine Wine  page by about 1/2" on a side and along the top so I could then matte it onto some cardstock. Before doing that I did ink up the edges of my page with some Tim Holtz Vintage Photo Distress Ink (LOVE that stuff!). I then cut out some banners out of the papers in this line. Then created little swirls off to the sides using sequins and added a few Petaloo flowers.Here's a close up of the sequins & flowers.
I also did some fussy cutting of the wine glass on the cutouts and gave it some dimension with a few 3d-dots.
Thanks for stopping by! Hope you enjoyed my layout using Moxxie's GORGEOUS Winry line.
Don't forget enter the giveaway! :)

Don't forget to leave comments along the way. The more you comment the better chances you have to WIN!
You can also link an entry into our monthly challenge for a chance to WIN!

Here is our hop line up:


 To be eligible to WIN all you have to do is comment on the Moxxie blog.
(US addresses only please) 
Extra chances to win include:
  Comment- on any (or all) of the designers blogs
  Facebook- share the blog hop post or one of the challenge posts (let us know by leaving a link on the Moxxie blog)
  Pinterest- pin any (or all) of these wonderful projects (leave a link for each pin on the Moxxie blog)
  Challenge- Enter your paper-made take on our sketch challenge! 3 extra entries if you use MOXXIE product! Link directly to your project or project post. (link up using the inlinkz tool at the bottom of this page)
Commenting and Challenge end Jan 31st.
Winner announced Mon. Feb 2nd.

Happy Hopping!

Sketches in Thyme {Bright}