May Arts Ribbon Giveaway!:

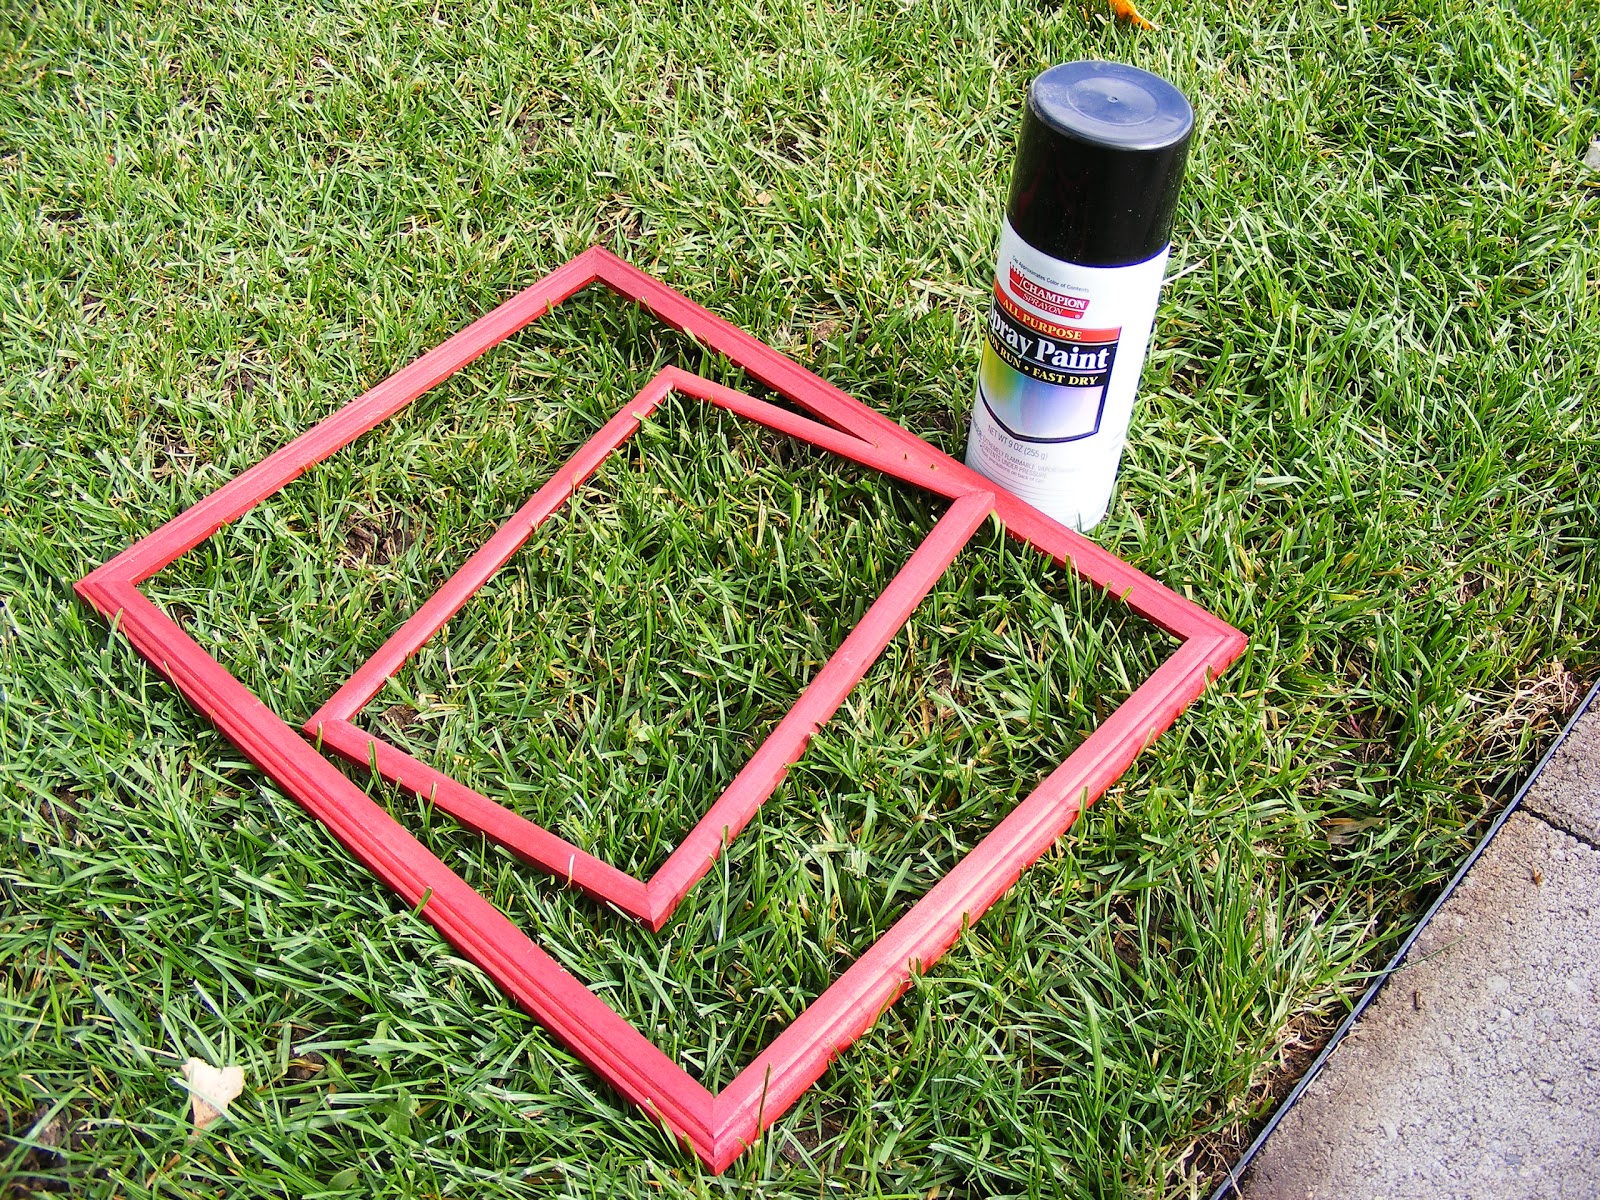
"The most important trick to taking the “work” out of housework is ATTITUDE. If you can shift your paradigm about why we keep house, by altering your attitude, you have unlocked the key to happy homemaking. Now go back and read that last sentence again. If you can really do this, it will be very powerful."I have that post bookmarked and keep referring back to the other two tricks! One thing I really loved about it was that one of the 3 Tricks is naming your home. I know, I know it sounds a little weird but the idea is that you need to take pride and ownership of your home. For me this is really hard. We have found a few problems with the home we live in and it doesn't exactly fit our family any more.We would love to move and find a better and bigger place or even just build our own home, but that's not something we can do right now. So when I read that, I immediately latched onto that idea, anything to help me out! I immediately asked the girls to help me come up with a few names so we could pick out our favorite one. What we came up with was Cozy Cottage. It works great for our cute little home! So I went right to work at finding a way to create a sign for our new name. I went to the Dollar store bought two frames and then visited a hardware store for some little tiny i-bolts. The rest I had at home!


 I've had this one for awhile but absolutely LOVE it! I love Halloween but really don't have much in the way of decorations. I can't ever find stuff at the store that I REALLY love, they always seem kind of cheesy to me. But I do have a stamp set that I LOVE and thought it would be perfect to make something with that! So I ran to the Dollar Store (love it there!) and bought a frame and then came home and starting putting things together. I stamped out the images, picked out some great Halloween paper to go with it and Ta-da! We have a cool Halloween decoration! Of course I couldn't stop there, I had to drill some holes in the frame to do wire through them and hang it up! Simple, fast and easy! Love projects that go that work out that well.


 All the blogs listed below are giving away a Sillhoutte! Isn't that amazing!? Make sure to swing in and enter to win one yourself! And don't forget to hang out look around each site, they have some truly amazing crafts and ideas!
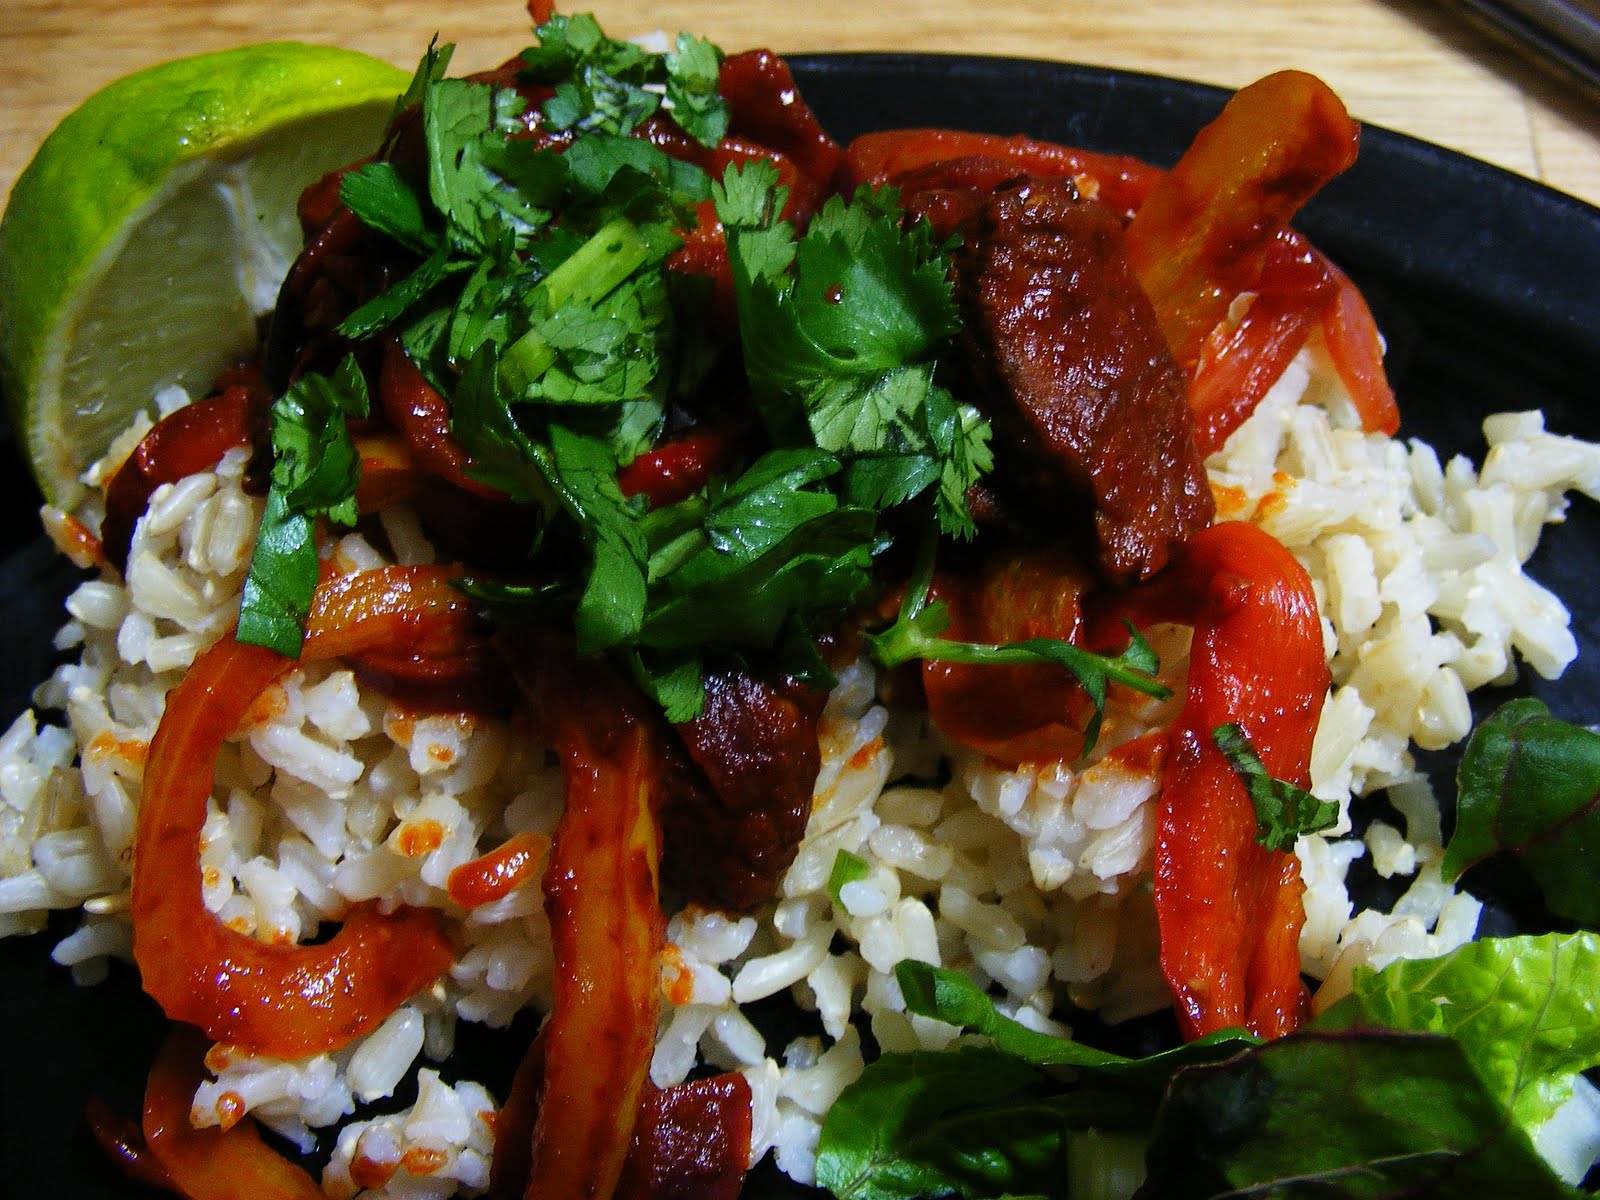
Mexican Flank Steak with Brown Rice
1 lb. beef flank steak, fat trimmed
3 dried New Mexico or California Chilies, rinsed,
stemmed, seeded and cut into 1 inch pieces
6 Tbsp lime juice
1 Tbsp minced garlic
1/2 tsp cayenne
about 1/2 tsp salt
2 cups brown rice
1 Tbsp vegetable oil
1 lb. red & yellow bell peppers (about 2), rinsed, stemmed,
seeded and thinly sliced lengthwise
1 red onion, peeled and slivered lengthwise
1/4 cup chopped fresh cilantro
1. Rinse beef and pat dry; cut across the grain into 1/8 inch thick slices and place in a bowl. In a blender, cover dried chilies with 3/4 cup boiling water; let stand until chilies are soft, about 15 minutes. Add lime juice, garlic, cayenne and 1/2 teaspoon salt and whirl until smooth. Pour over beef, cover and chill for 30 minutes.
2. In a 3 to 4 quart pan over high heat bring 4 cups water and the brown rice to a boil. Cover, reduce heat to low and simmer until liquid is absorbed and rise is tender to bite, about 45 minutes.
3. Meanwhile, pour oil into a 10 to 12 inch frying pan over high heat. When the oil is hot, lift beef from marinade with a slotted spoon (re-serve marinade) and add to pan. Stir until meat is no longer pink, about 3 minutes. Transfer beef to a rimmed plate or bowl. Add peppers and onion to pan; stir frequently until limp, 5 to 6 minutes. Return beef to pan along with reserved marinade; bring to a boil and cook, stirring once or twice, for 1 minute.
4. Spoon rice into four wide, shallow bowls and top equally with beef, vegetables and sauce. Sprinkle with cilantro. Add more salt and lime juice to taste.

1/4 cup Flour
2/3 cup Granulated Sugar
1/4 tsp. Salt
2 2/3 cup Flaked Coconut
4 Egg Whites
1 tsp Almond Extract
1 cup chopped Almonds (optional)
Preheat oven to 325 degrees. Combine flour, sugar, salt and coconut in mixing bowl. Stir in egg whites and almond extract. Stir in chopped almonds (optional); Mix well. Drop teaspoon fulls onto greased cookie sheet. Bake 20 minutes or until golden brown. Remove from cookie sheet, cool on racks. Makes 2 1/2 dozen soft cookies.
Drizzle chocolate over them. (optional)